THIS IS NOT A HOW-TO! Just something I thought was cool and wanted to share.
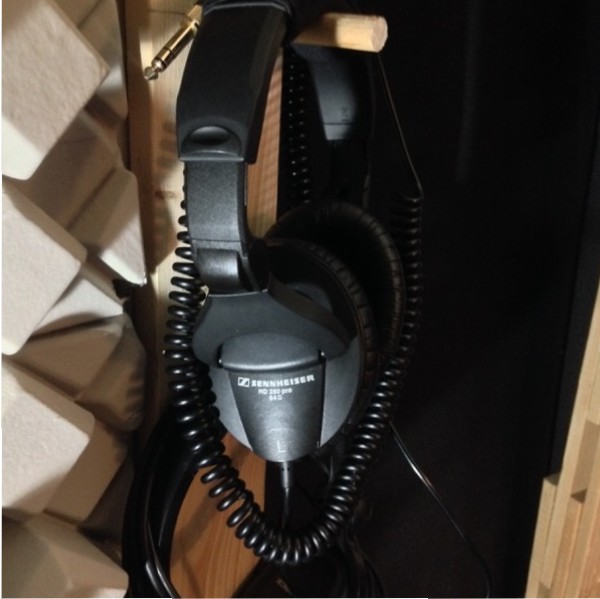
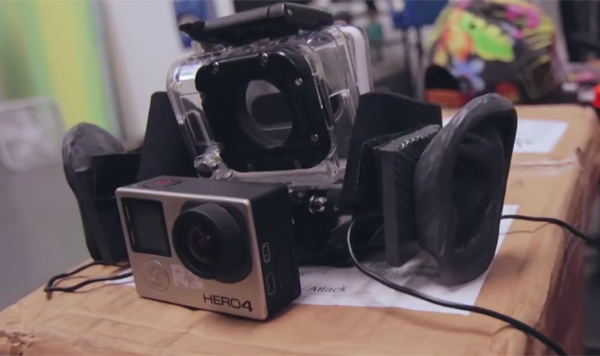
Sam (Corridor Digital) has been experimenting with 3D printing scans of his ears for binaural sound capture. He’s using a pair of Sennheiser wireless lav mics inside the fake ear’s canals. For a quick proof of concept experiment, this worked extremely well.
2 Comments