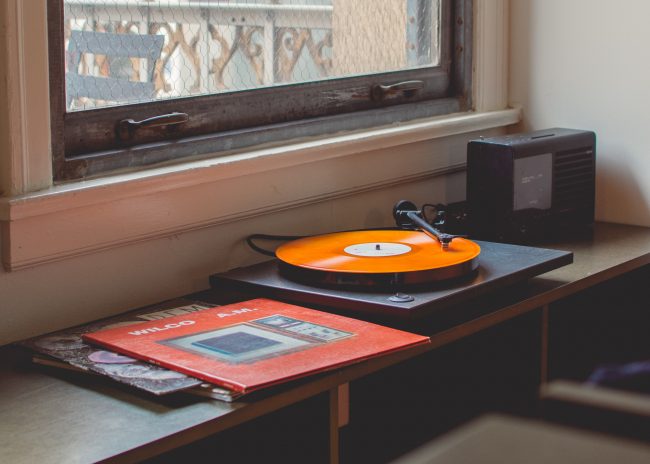
Chris shares the best tips for maintaining your vinyl record collection
Leave a CommentAudio Geek Zine Posts
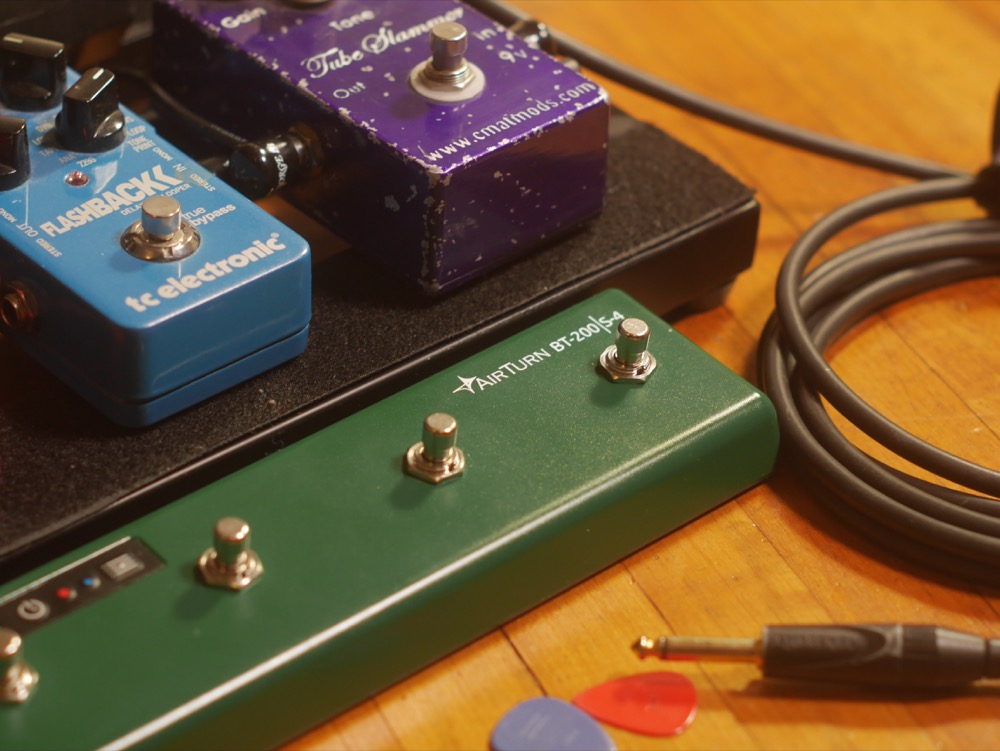
Putting the AirTurn BT-200S-4 bluetooth foot controller to the test for hands-free DAW control.
4 Comments
3 of my most used apps on my iPhone for audio engineering/production.
1 Comment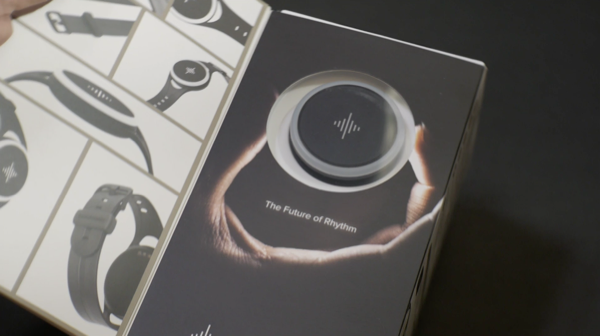
The Soundbrenner Pulse is a wearable vibrating metronome that syncs to your smartphone, or DAW. Jon tests the Pulse device, Metronome app for iOS and the DAWs Tools app for MacOS.
2 Comments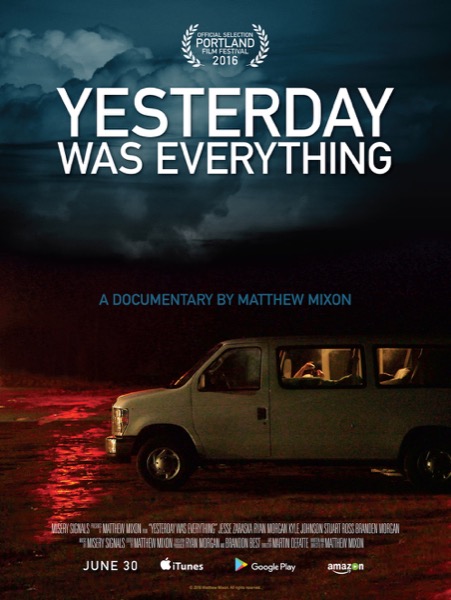
“Yesterday Was Everything” Misery Signals Documentary released. Jon did audio post production for the film.
Leave a Comment