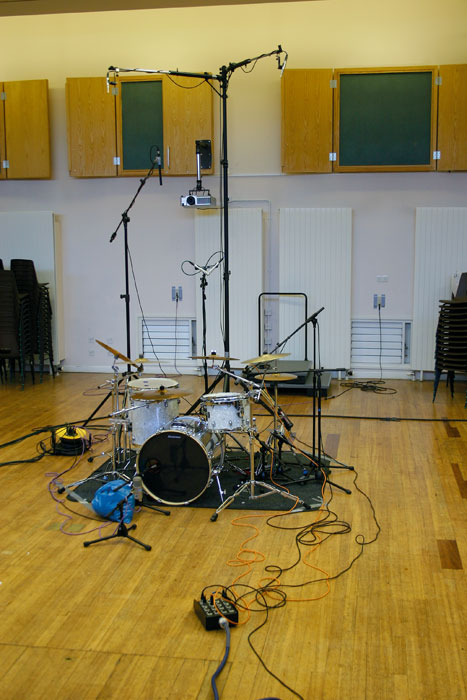
 When working with a multi-miked drumkit recording you need to be aware of phase issues and how to correct them.
Recognizing the phase issues will take some practice but if you go step by step you shouldn’t have problems.
Before doing any processing or even setting levels, go through one mic at a time and check the polarity.
What you’re listening for is improved punch and low end.
- Starting with the overhead mics check, that those 2 mics are in phase. It’s rare but not unheard of.
- Next add the snare top mic. Bring up the volume and then try inverting the polarity, listen if the low frequencies change, decide which way it sounds best, with the most low end or punch and continue to the next mic.
- If you have a mic on the bottom of the snare pointing up it’s very likely it will need the opposite of the snare top mic.
- Add the kick mic, toms, room mics and close miked cymbals.
- Then you can move on to panning, balance and processing.
Here is an example of the kit before and after checking the polarity of each mic using this process.
In this case one of the kick drum mics and the snare top needed to be flipped.
There is no preset for this, every time you record or mix drums you’ll need to check this and compensate. You’re going to have to use your ears!
If you layer and blend samples you should check they’re all working together in phase as well.
Changing the timing of individual mics like you might do with multi-miked guitar amps is not something that I mess with when it comes to drums. It’s not something that you should need to do.
