Apartment buildings are not the ideal place to have a home studio, the main problem with them is the acoustics are terrible. My ‘studio’ has painted concrete walls, huge windows across one side, and is a L shape. This results in a very uneven frequency response, and ridiculous flutter echo.
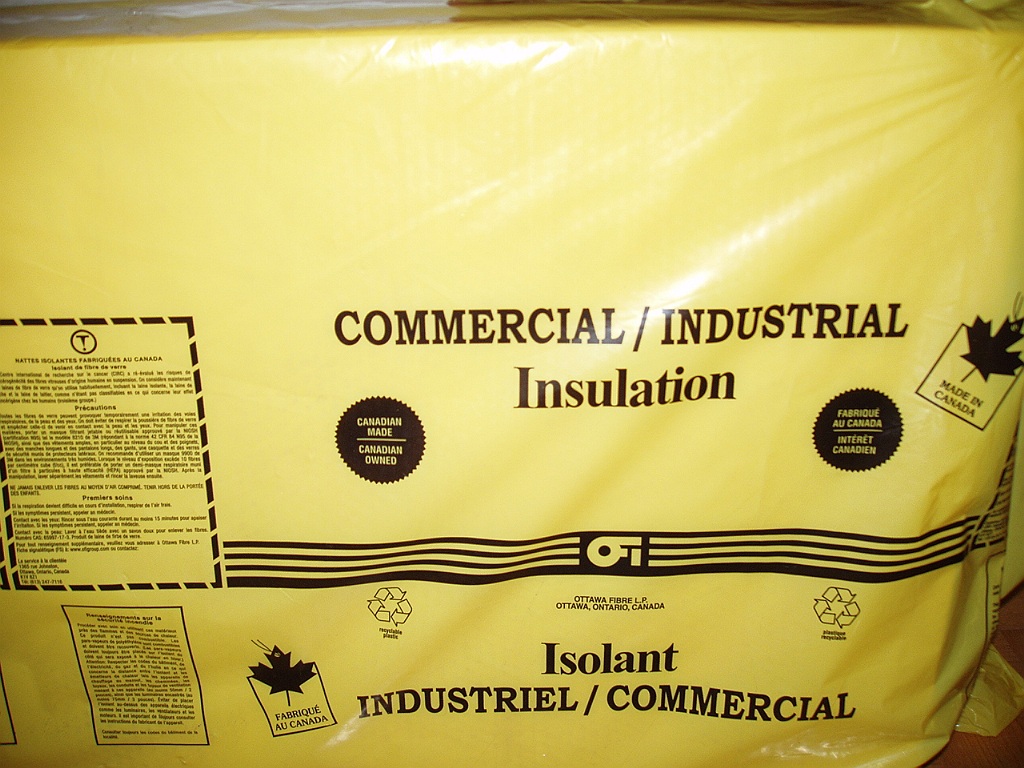
For not a lot of money I made a big improvement to this situation. Rigid fiberglass is the most cost effective way to acoustically treat a room. Foam only really makes a difference with mid and high frequencies, the panels I made are effective down to about 125 Hz according to the specs of the material.

Click any photo to enlarge
Here is a great site with specs for various materials: http://www.bobgolds.com/AbsorptionCoefficients.htm
What I got for my room: http://www.ofigroup.com/products/can_pdfs/can_ofi_48_rigid_fibre_board.pdf
I spent about $200 for the rigid fiberglass, fabric, wood, and staple gun. I this made 96 ft2, which comes out to $2/foot compare that to Auralex foam which is at least $4/foot and is less effective. If I got cheaper fabric it would cost even less. Anyway, I think I’ve made my point. Each panel takes about half an hour to make, faster if you have help.
So what do you need to build these acoustic panels?
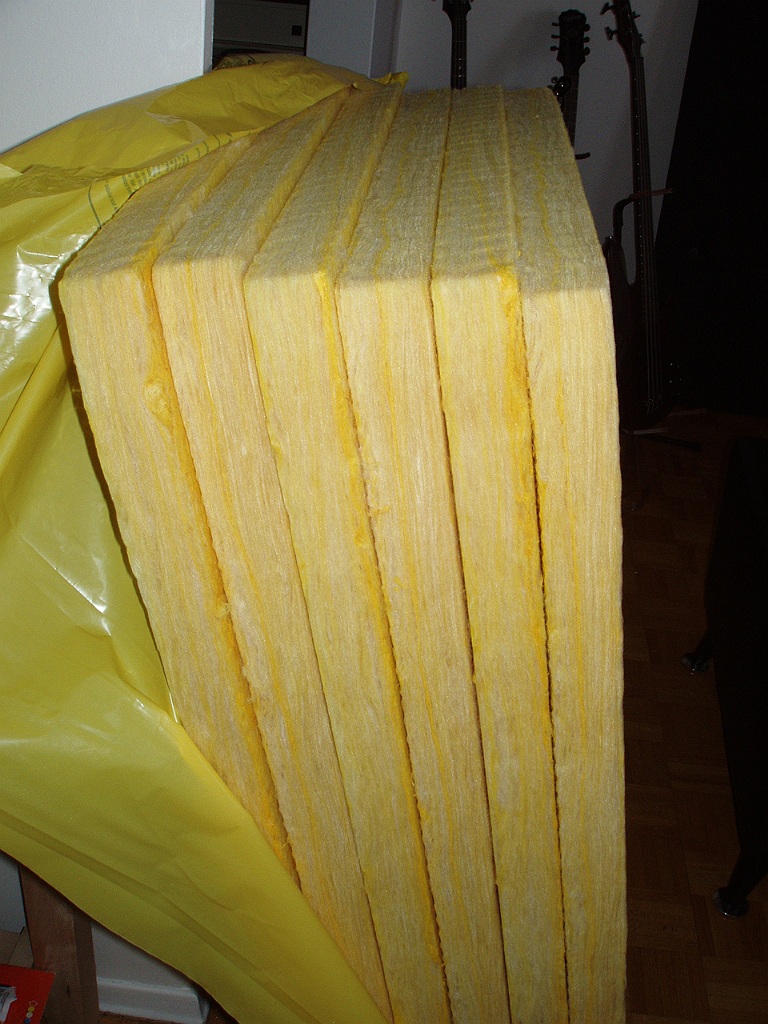
- Rigid fiberglass sheets (Owens Corning 703/705 or OFI 48)
- 3/4″ plywood cut into 2″ wide strips (2 4′ long pieces, 2 25.5″ long pieces per panel)
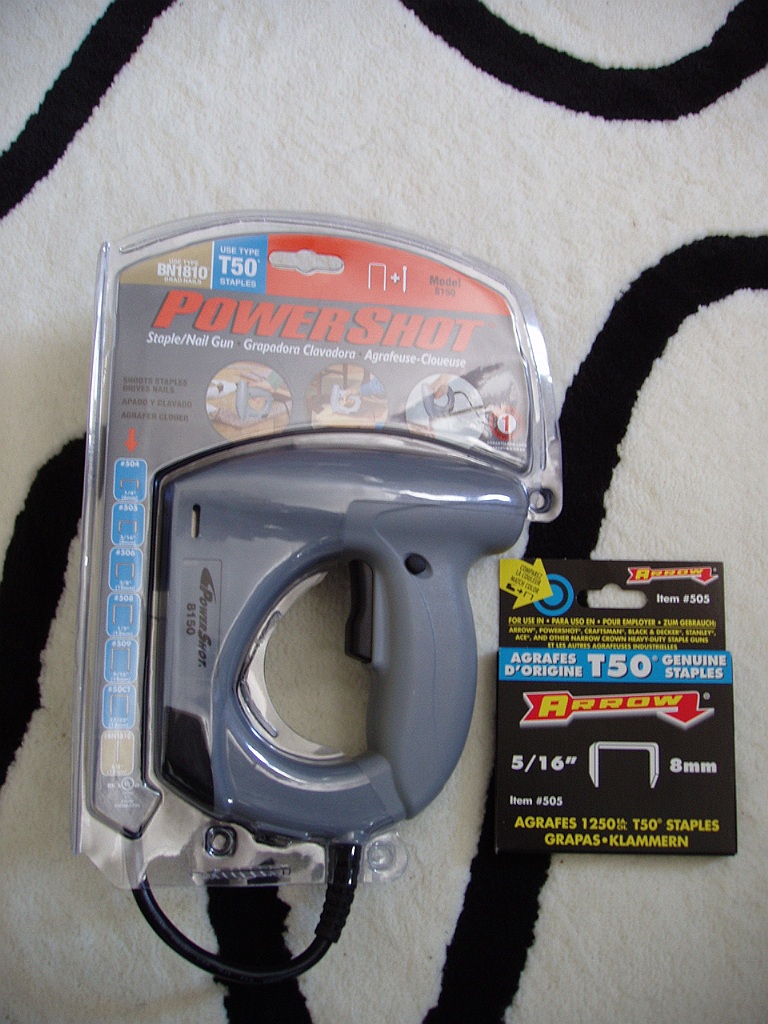
- a staple gun and wood staples (electric preferred, Arrow or Powershot)
- fabric for covering the panels, 4.5Meters was just enough for 6 panels (I used black speaker cloth, normally $9/M, I got it half price) Any fabric that is breathable will work, hold it up a blow through it to test it.
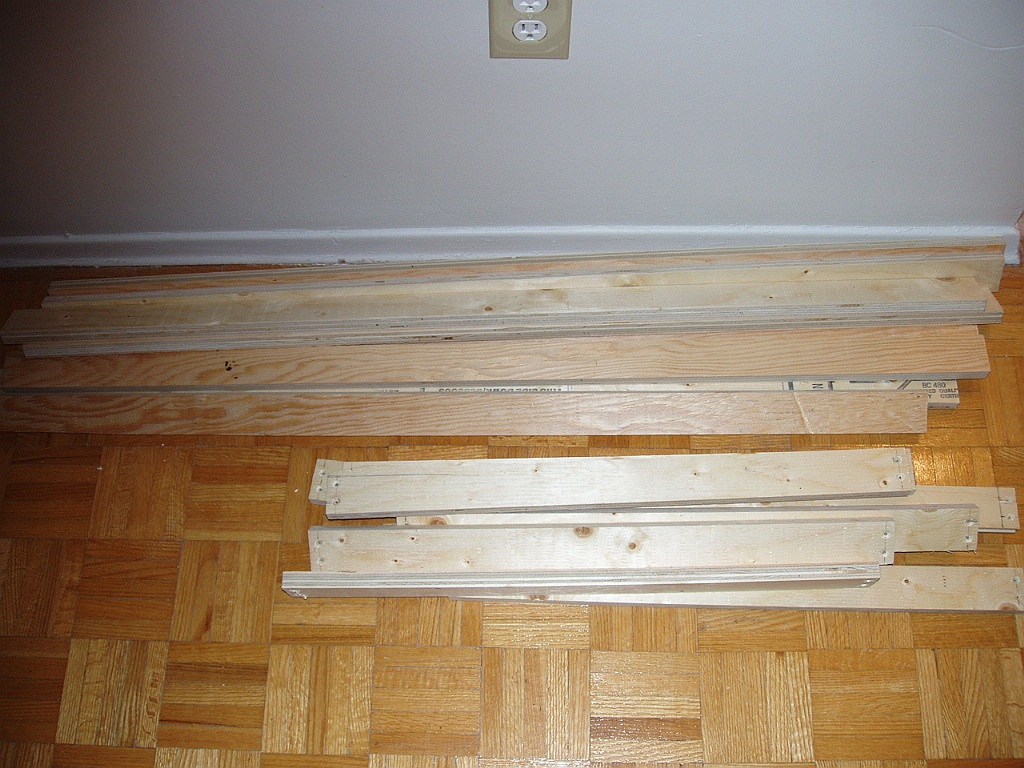
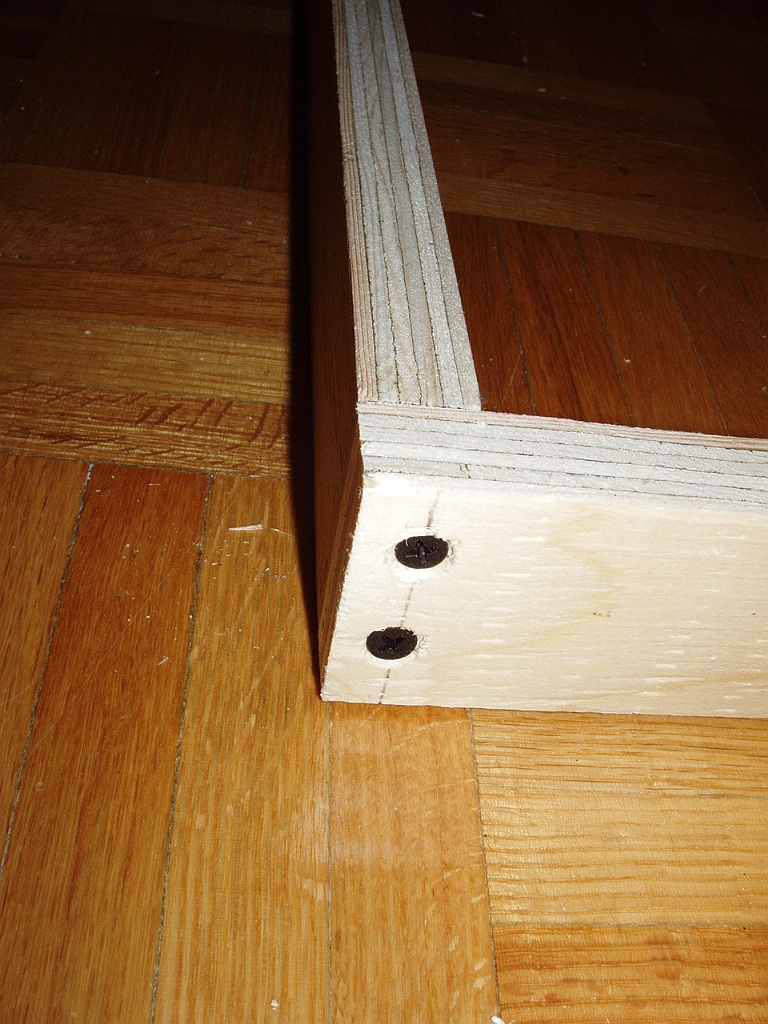
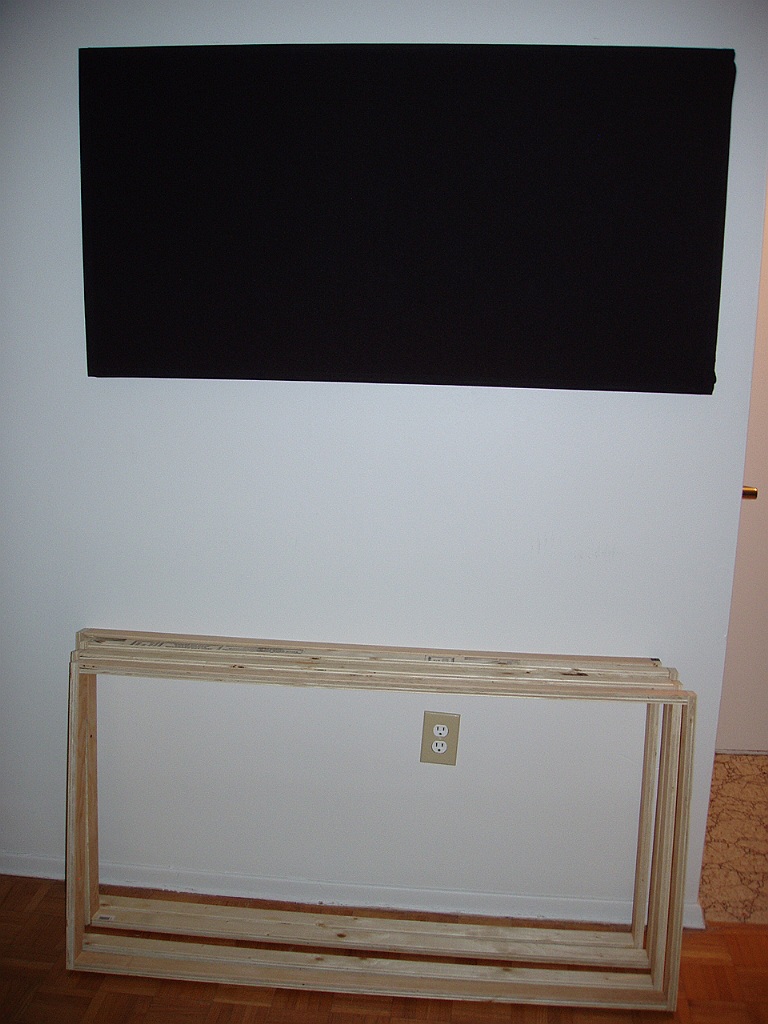
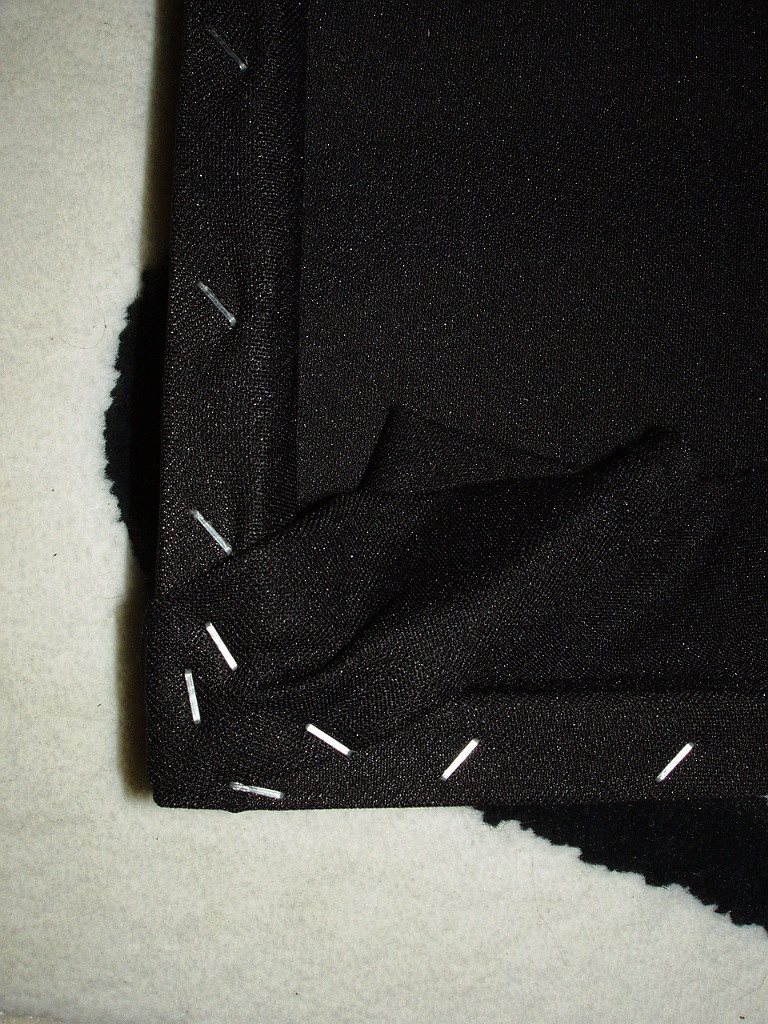
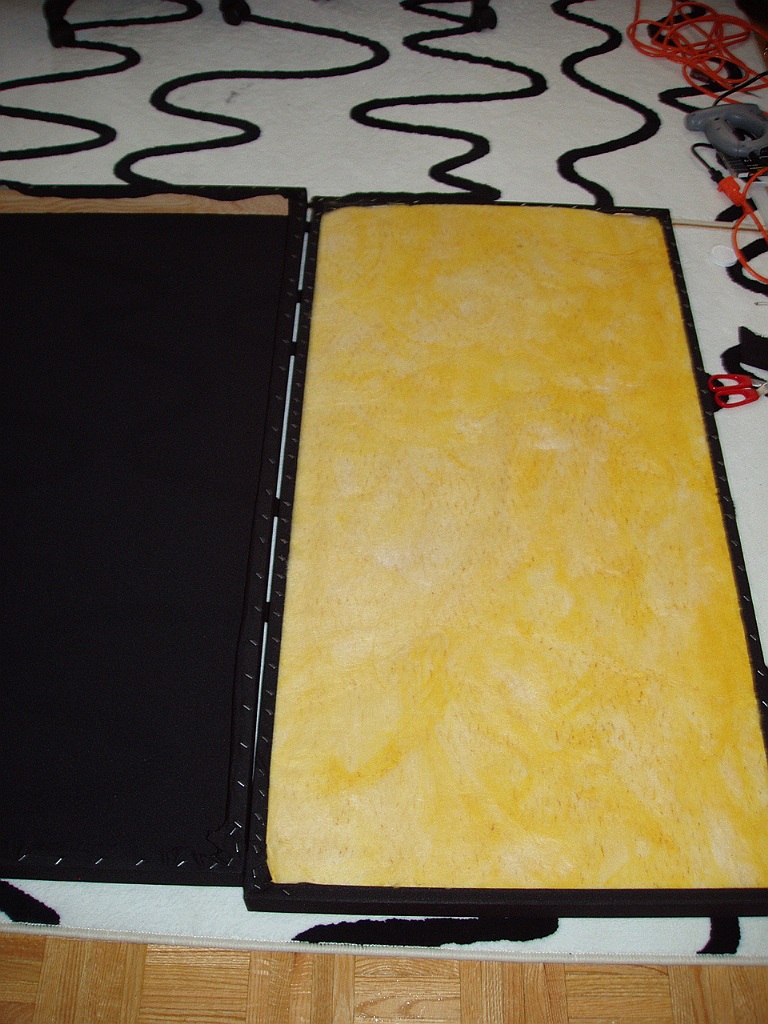
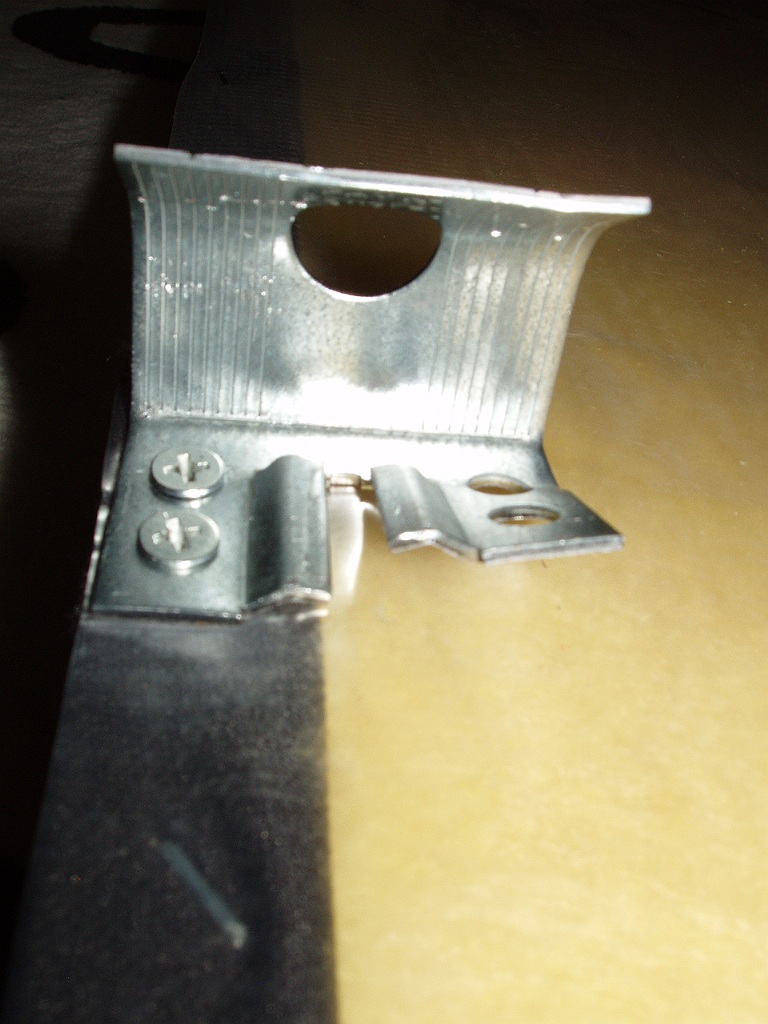
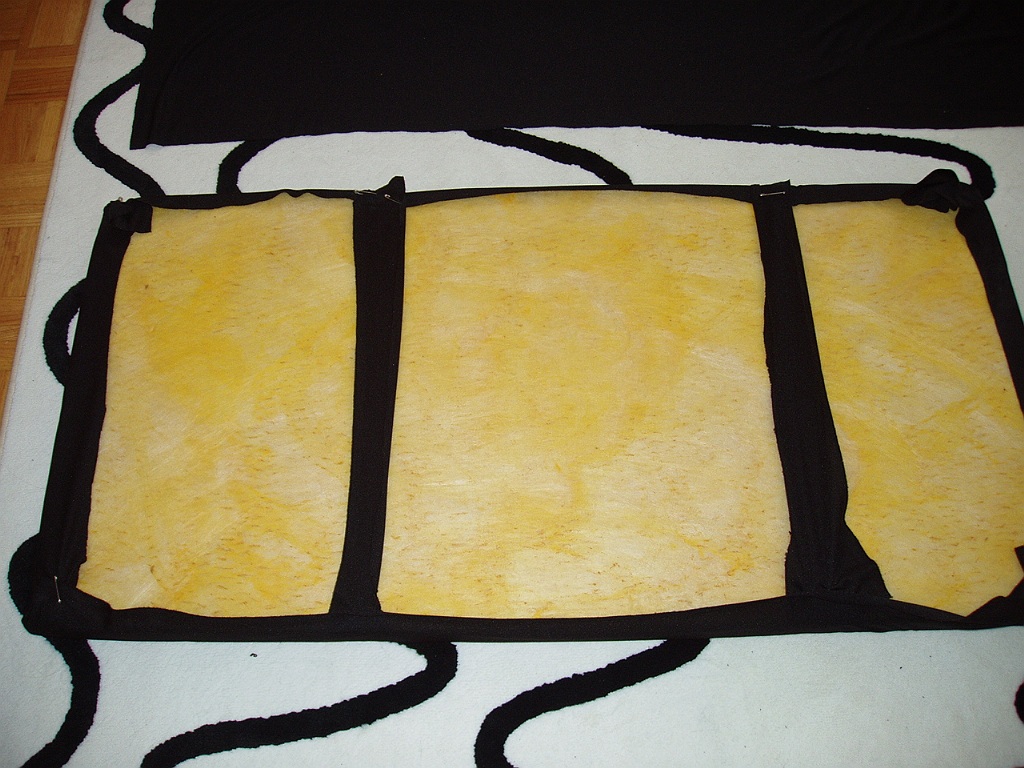
After the wood is cut up, drill holes on each end of the shorter pieces, even spacing of course. Countersinking helps with the appearance, drill through once, then with a large gauge bit drill in just far enough for the screw head to sit in flush. After all the drilling is done screw the pieces together into a frame. Yes I know there are technically better ways to build this that will be more sturdy etc. This is not a barn we’re building, it’s not load bearing, it doesn’t matter, so don’t even start. Below is a closeup of a corner, and 4 constructed frames below a completely finished, mounted panel.
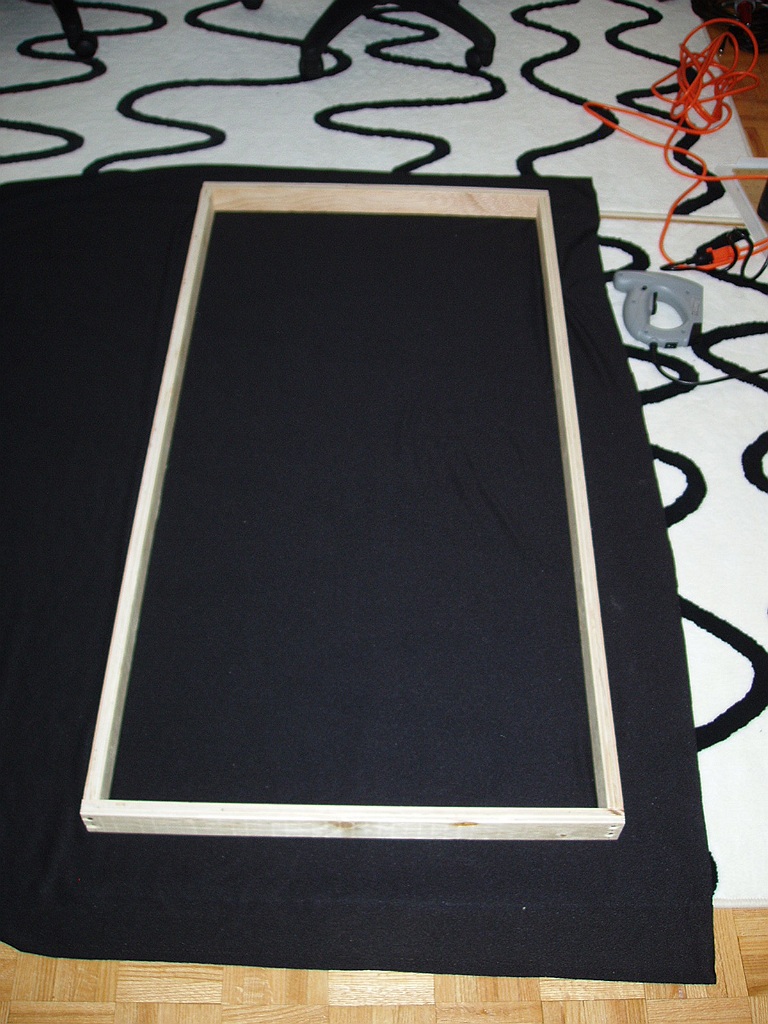
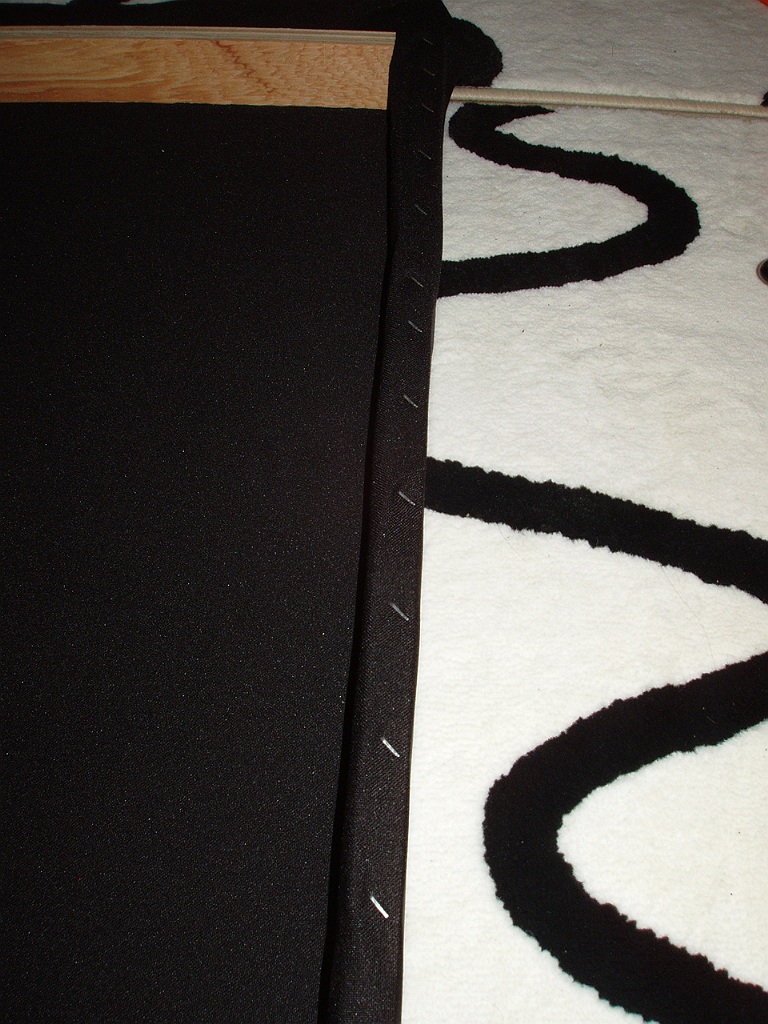
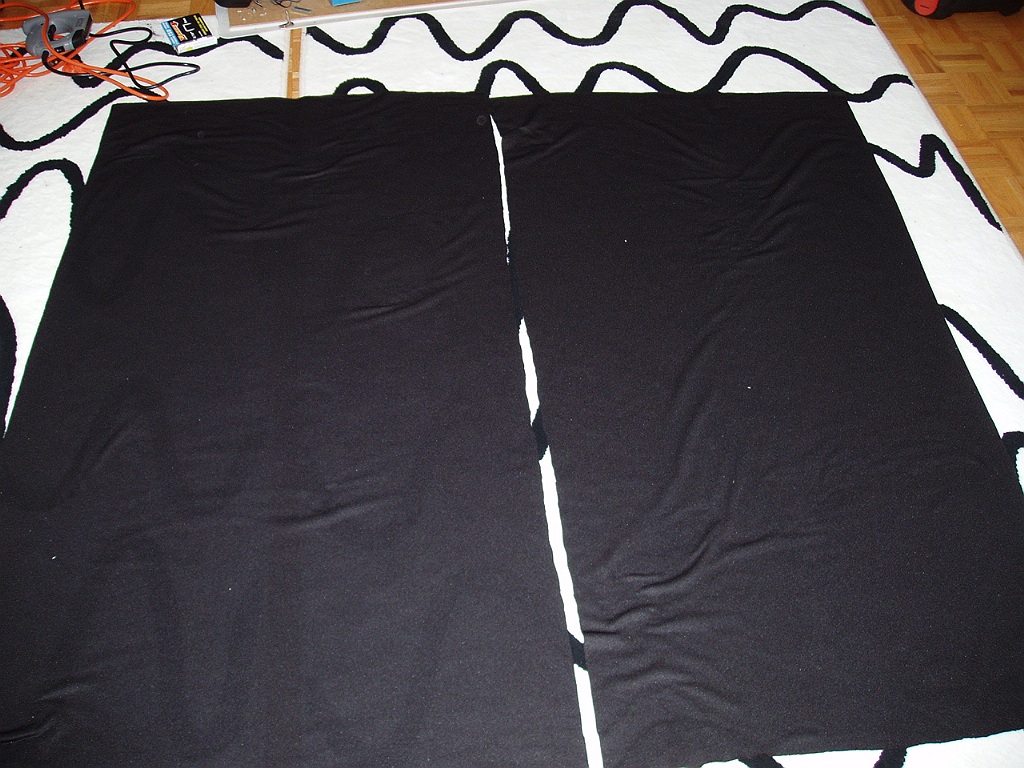
Alright, so now here’s the hard part (not really), lay out the fabric on the floor or on a large table if you prefer. Lay the frame on top of the fabric so there is an even overlap on the right about 2.5 inches. Begin stapling from the middle at an angle. Move over to the other side. Pull the fabric tight slightly and cut off the excess leaving about 2 inches. Staple as before but make sure you are keeping the fabric pulled tight and even. Do the same on the ends.
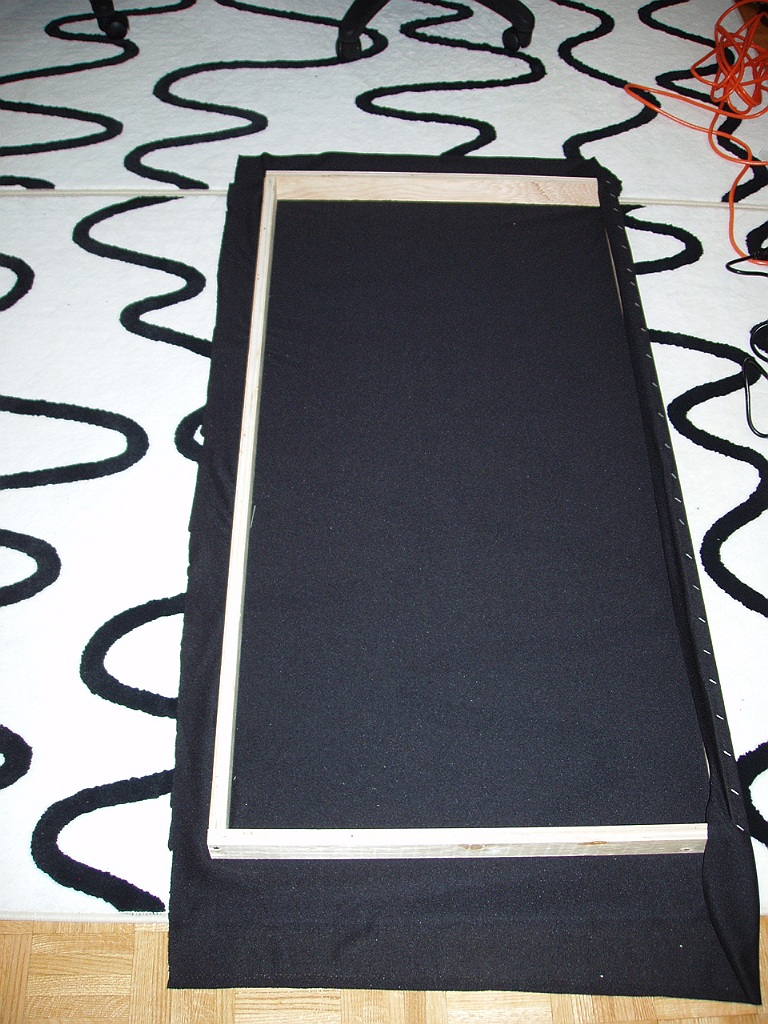
For the corners, there’s not much to it, just fold neatly and put a bunch of staples in. Cut off the excess fabric if you want.
Now put on some gloves before you handle the fiberglass sheets. Think about it fiber-glass/glass-fibers. Common sense. Its not going to hurt you but will make you itchy.
Lay the frames down on the floor and drop the sheet of fiberglass on top. Push down from the middle to fit it in. Try not to aggravate the sheet because you don’t want the stuff floating around the room or on your floor.
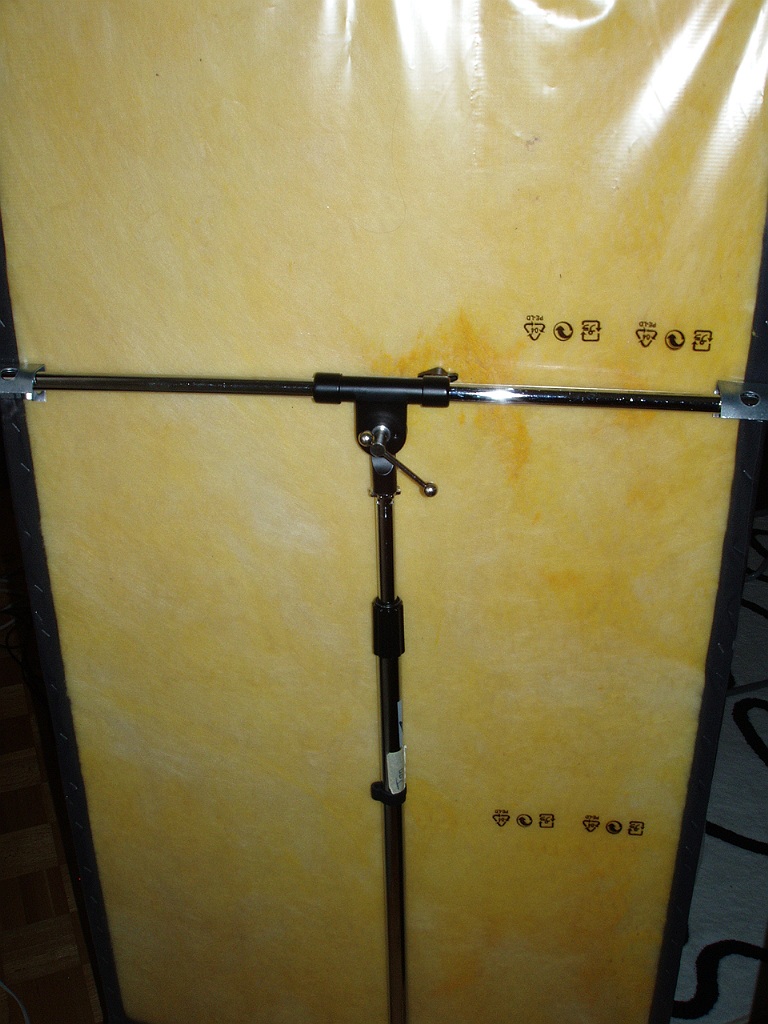
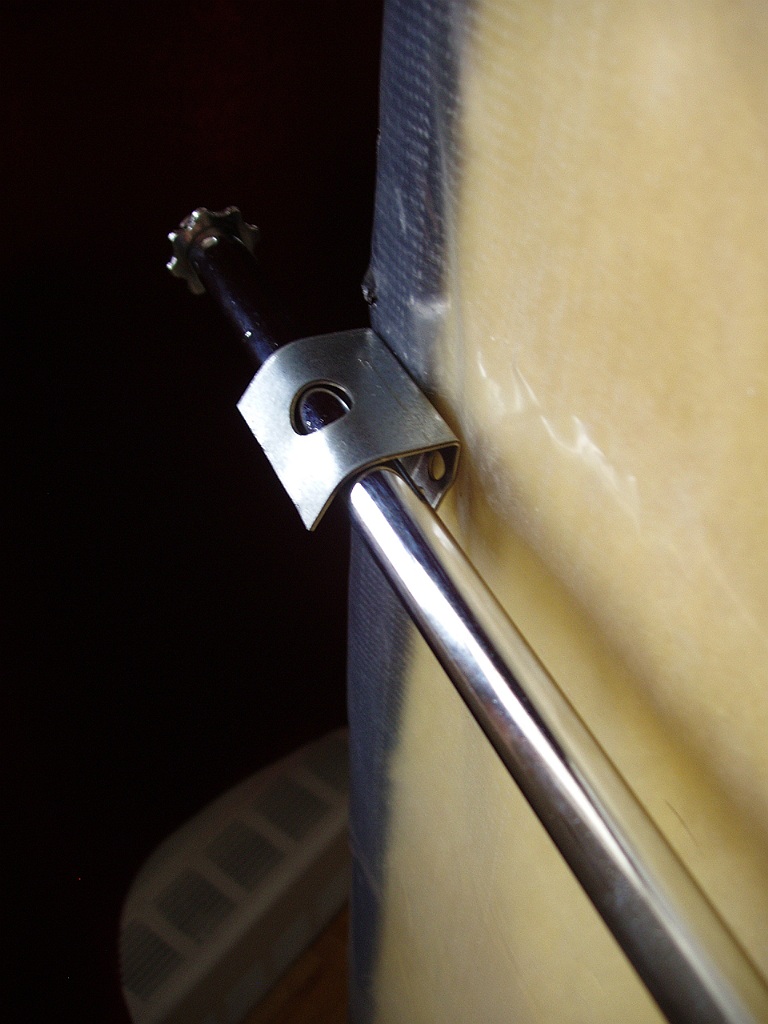
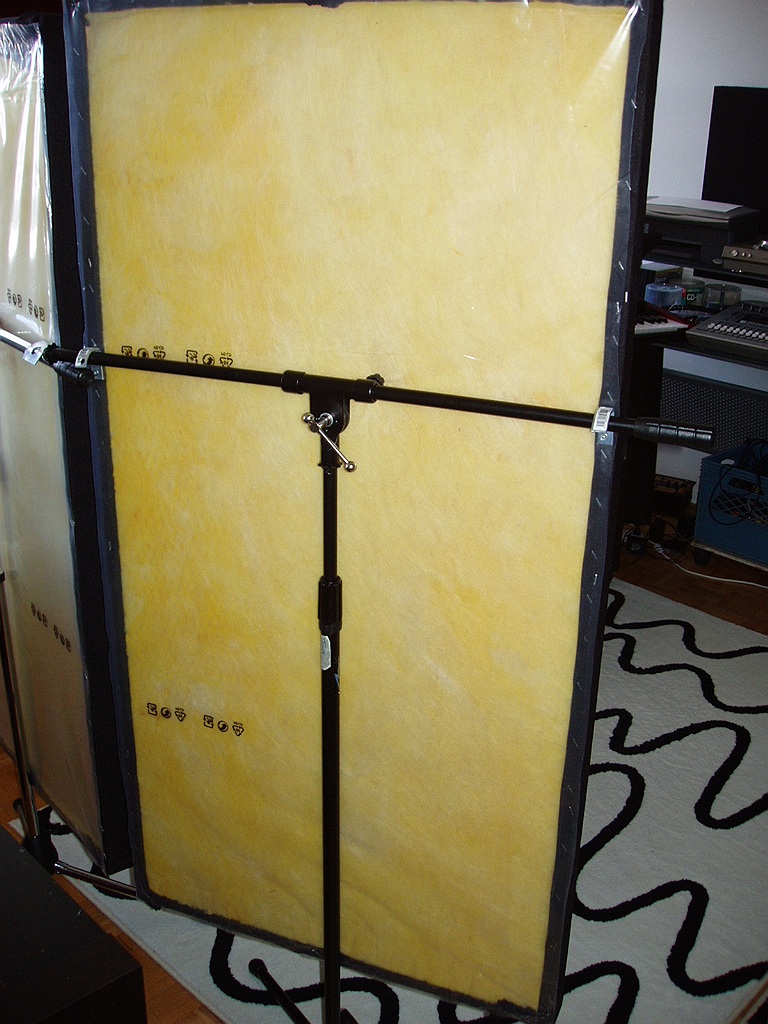
A few of my panels I made to be free standing. They mount on mic stands. Because of my room is so large and L shaped its difficult to get a symmetrical mix position. These panels on the stands help make an RFZ (relection free zone), as well as blocking out noise somewhat from the kitchen.
To make them I just added some spare brackets to the frames 16″ down from the top and bent them downward slightly. There’s some pictures of that below.
I also have two panels without frames, one for in the window and one hangs above my desk. They look pretty ghetto now with the fabric just loose around them, but I’ll figure something out.
My room still isn’t great, but I’ve made a huge improvement for not that big of an investment. I now need to fine tune the placement of the panels and possibly do some furniture rearranging. I’m pretty happy with the results so far.
I hope this was helpful.
cool.
looks very nice.
10nX 4 da instructions.
Great post! You’re quite the handyman!
Down to 125Hz? Really? I’d like to see a test of your panels if that is even close to accurate. One way you could set up something informal is just to set up a drum kit and set up a few distant mics about 6 feet away. Then record the kit with the panels and record it without the panels. It would be interesting to hear the results.
I made my own acoustic panels about 2 years ago. They were just plywood and egg-crate, but they were pretty good at minimizing high frequency reflections. Still, they were useless against low frequency stuff.
Ye Olde Trackback
I wouldn’t dare record a drumset in my apartment building!
These aren’t baffles, they’re just for making an RFZ.
Hey Jon. This is really good info. I especially love the way you used the boom mic stands to mount the freestanding panels. Very cool.
Question: Did you cover the backs of the panels with anything? It looks like I saw some clear plastic on a few pictures. I would think it would be nice to not have the fiberglass exposed, especially on the freestanding panels.
Yah, my two freestanding panels have thick clear plastic, came from my Ikea carpets I think.
The others aren’t covered on the back.
You said they were effective down to 125hz? On the link provided it looks like the NRC of the 2″ OFI 48 is only at .21. Did you use a different thickness or layer multiple sheets into each frame? I’m considering getting some sheets from ATS Acoustics, but if the OFI sheets are much better I might consider them, too.
-PatM
This is great! I built a small studio room in my basement and have 2″ foam and some foam corner bass traps, but I know that I need bass traps of this sort to really help the room. Pretty costly if you purchase them ready-made. The portability factor is great, too. I plan on using the 4″ rigid fiberglass rather than the 2″. Thanks for the info!
It took me a while to search on the net, only your site open up the fully details, bookmarked and thanks again.
– Laura
Exactly the instructions I’m looking for but the photos’s are not coming up. Thanks.
When my site got deleted I lost over half the photos, I’ll keep looking for those ones.
I assume that you put some sort of plastic on the rear of the panel?
only on two of them. It’s not necessary.
Dewalt has a new heavy-duty stapler that large home improvement stores sell for only 20 bucks. I bought one last month and I couldn’t be happier with it.
Only Home Depot carries Owens Corning who say it can be special ordered. Do you or anyone have the sku # for this product? Thanks
Thanks for sharing this information. I am pretty handy and my husband is a carpenter so this will work for me. What type of fabric should I use? Or does it matter?
I used ‘speaker cloth’ in the project. Any material that you can blow through, has a bit of stretch and inexpensive is what’s usually recommended. Some studios use micro suede and I don’t think that fits any of the previous criteria.
This looks like exactly what I’m doing. I got sent 4 x 2.8m pallets of the stuff. I was told through someone that I could get some free offcuts if I paid the shipping. Didn’t realise I was gonna get a shipload! I have been making panels that are about 2250mm x 1200. Plywood backing with edges screwed on with pv a glue on then 25 mm panel x 2 with a 50mm panel glued on that with black material. I’m slowly getting around my whole room covering every spare bit of space with these heavy panels.
Dodgy shit to work with. Get a pair of disposable overalls gloves mask and safety glasses. And leave it all outside before you go in your house to have a shower. We had a practice last week and it was a bit quieter from outside. Inside it was nice. Nothing whatsoever in terms of standing waves or echoes. In fact I did a couple of pink bursts and I could only hear my snare shell ring. If anyone reading this is in New Zealand, contact Neil at Asona. 1k gets you a curtainsider truck worth. Shitloads.
Listen. And share. And be peaceful