Beatzille is one of those synths that inspires songs with every patch. That was the case with this Sunday Jam, I played a note and…
Leave a CommentAudio Geek Zine Posts
On December 12th 2015 Luca Fusi gave a talk on comedic sound design for the Vancouver Sound Designers Meetup group. I filmed and edited the presentation for the group’s youtube channel.
Leave a Comment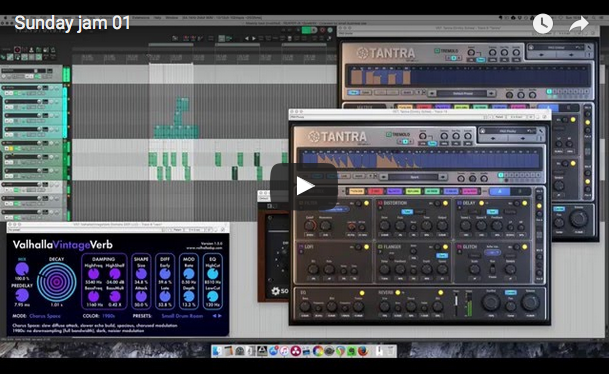
This first one is just expanding on a recent song sketch, really just a pattern made from various short sounds from my MeeBlip Anode synth. Processed on the buses with Decapitator and in parallel with ValhallaVintageVerb and 2 instances of Tantra.
2 Comments
I spent a lot of time watching myself mix while editing my Mixing in REAPER Vol 1 video series. I’ve learned quite a bit from…
1 Comment
Humberto Corte’s presentation on sound editing at the sound designers meetup
2 Comments